
*Southern Cornbread *Homemade Butter *Homemade Tortillas
*Chicken and Dumplings *Sourdough Bread From Starter
SOUTHERN CORNBREAD
Nothing is quite as good as a warm crunchy piece of cornbread to go along with your chili or vegetable soup. Of course, you also need it to crumble up and make your cornbread dressing this time of year. Here is a tried and true recipe for you to make for your family. I usually make mine plain but you can add grated cheese or jalapenos to the batter before you bake it. Back in Vidor, Texas, my Dad loved to add chitlins to my Mom’s cornbread batter before she threw it in the oven and I can still see her rolling her eyes and saying, “Awh, Ellis!” in her stern Southeast Texas sing song voice.
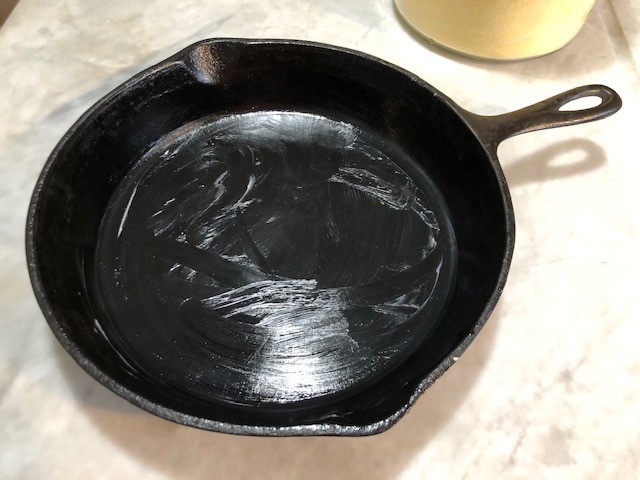
First before you gather up your ingredients, grease your cast iron skillet with Crisco and stick it in the oven at 425 degrees to preheat the skillet and the oven.
- 1 cup Flour
- 1 cup Yellow Corn Meal
- 2 Tablespoons Sugar
- 1 Tablespoon Baking Powder
- 1/2 Teaspoon Salt
- 1 Cup Milk
- 1 Egg
- 1/4 Cup Vegetable Oil (or better yet, left over bacon grease from this morning’s breakfast)
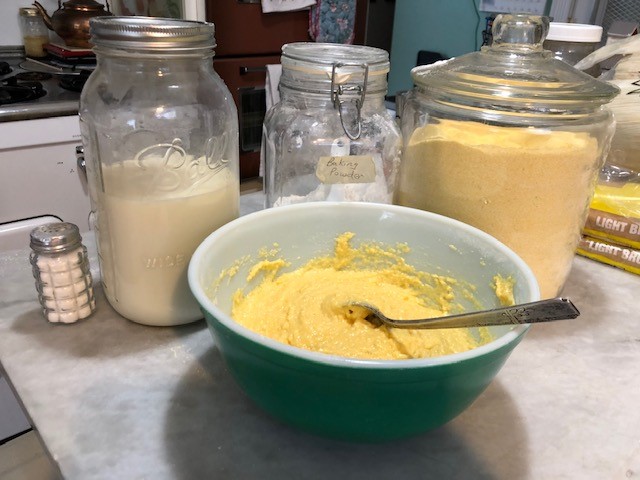
Mix your dry ingredients together in a medium sized bowl. Then add your milk, eggs and oil in that order and mix together well.

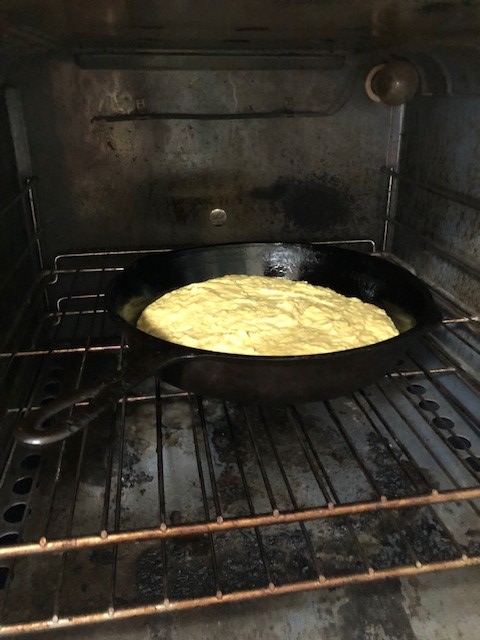
Spoon this in to your heated skillet and into the oven. Ask Alexa to set a timer for 25 minutes.

I like to melt butter over the top of the cornbread after I pull it out of the oven.
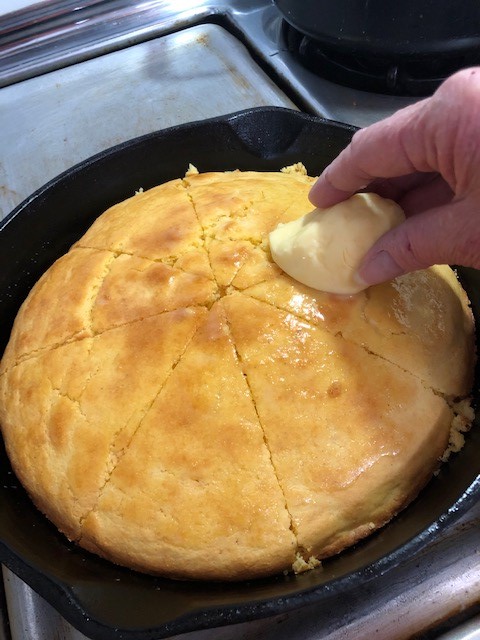
Well, how ’bout that? Mmm, Mmm, Mmm!
FARM FRESH CHEESE
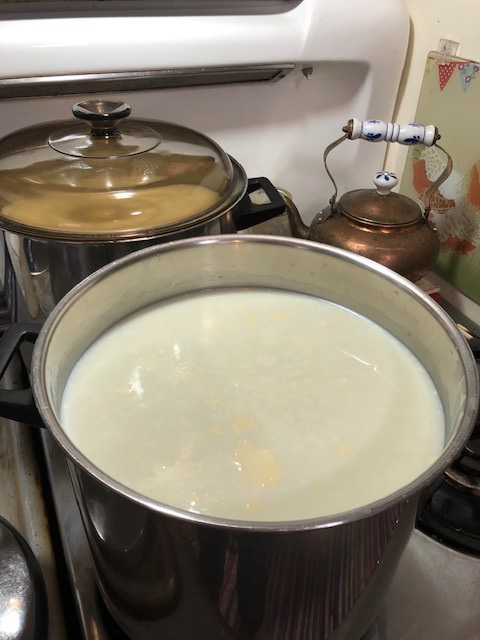
With Dolly, our Jersey milk cow in milk at this time, we have an abundance of milk for making all sorts of dairy produce. We have 8 gallons of milk that goes out to local families in the form of milk shares. If you are interested in our milk shares, we do have a few available. Email me for details so we can get you set up to pick up your milk share weekly in a safe contact free method. From my jars of whole milk, I remove the cream on the top and use that for making butter. Then I take the remainder of the milk (about 2 gallons) and place it in a large pot on the stove and gently warm it to 68 degrees. I then turn off the heat and add a large scoop of plain yogurt (about 1/2 cup) to the milk and stir gently. I then cover the milk and allow it to sit on the stove for 2 hours undisturbed.
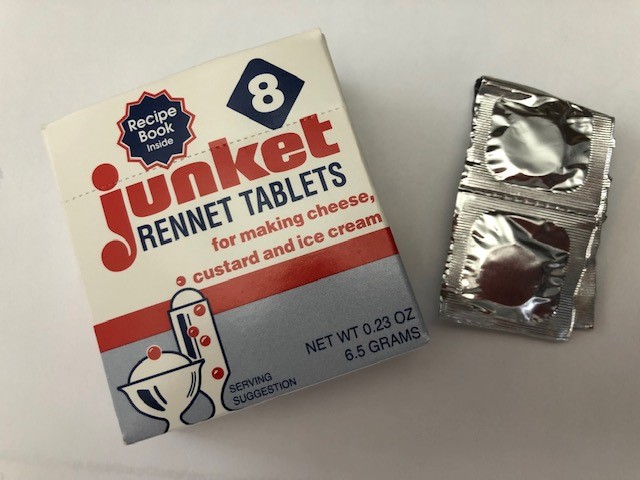
Next I warm the milk up to 86 degrees and then to the milk I add two Junket rennet tablets that have been dissolved in a 1/4 cup of cool water. I stir the rennet in thoroughly and allow the milk to rest undisturbed with the burner turned off until it forms a large curd. This takes about 4 to 6 hours.
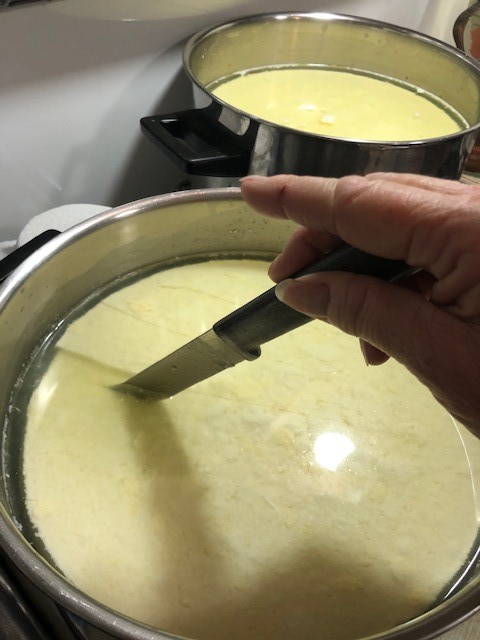
I cut the curd with a long knife in several different directions and stir the mixture gently with a large spoon on a low heat SLOWLY warming this up to 110 degrees. Once the curds have a scrambled egg texture and have sunk to the bottom of the pot, I pour this all over a colander separating the curds from the whey.

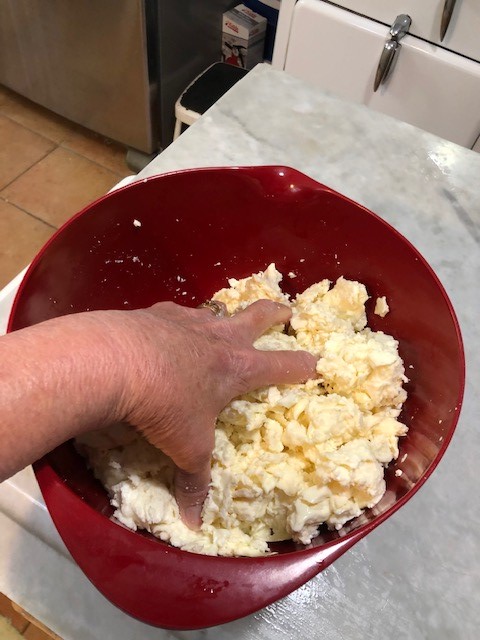
Once the curds have drained well, I place them in a big bowl and add salt to taste (about 1 tablespoon) mixing in thoroughly by hand.
I place the salted curds in the press with a silicone cheese cloth and press for overnight. If you do not have a press, you can place the curds in your refrigerator and drain off the whey as it collects


In the morning I remove the cheese from the press and allow it to sit and dry for the day. The next evening I wrap the cheese with a kitchen towel and place in the refrigerator and it is ready to eat!!

HOMEMADE BUTTER
Here is how I make butter at our Albergue Farm. You can use whip cream you buy from the store or if you have access to whole milk from a Jersey cow like Dolly, you can spoon off the thick cream from the top of the jars of milk. Put your cream in your mixer bowl and whip. Of course, I use my trusty Kitchen Aid mixer😉. First you get delicious whip cream that you might want to steal a little for your coffee.

Keep whipping the cream on medium speed until you see the cream start to separate into butter and buttermilk. This takes about 15 minutes on my mixer. I usually change from the wire whisk attachment to the paddle for this stage.
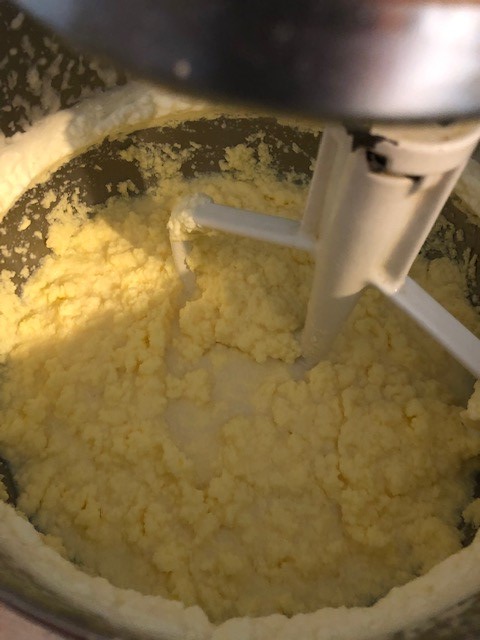
ALMOST THERE BUT NOT QUITE
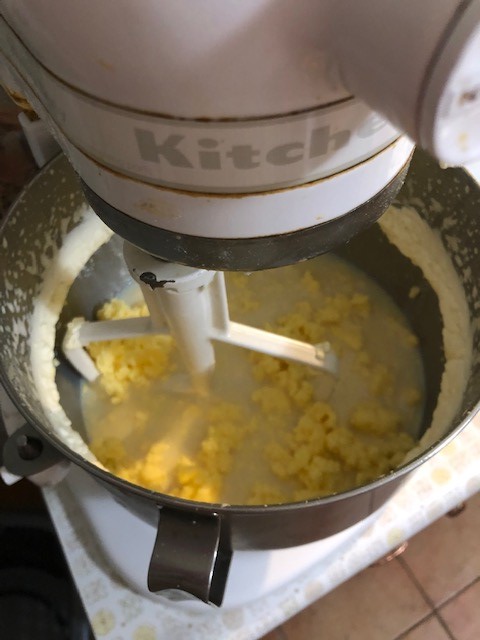
IT’S THERE!
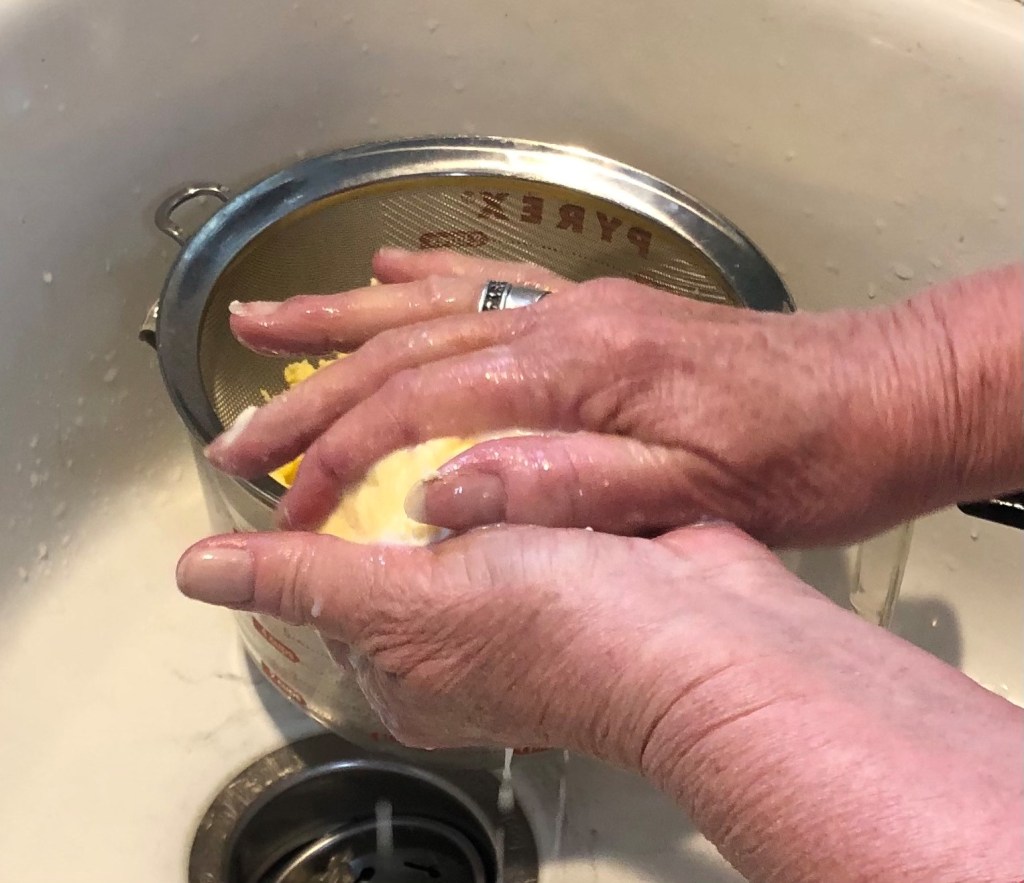
I then pour this through a sieve to drain off the buttermilk. Place your buttermilk in the refrigerator and make some delicious buttermilk pancakes or biscuits with this for breakfast in the morning.

Take the butter and gently squeeze the extra liquid out with your hands and press the butter into a mold or just shape it with your hands as you like. You can add salt if you want. I usually do not.
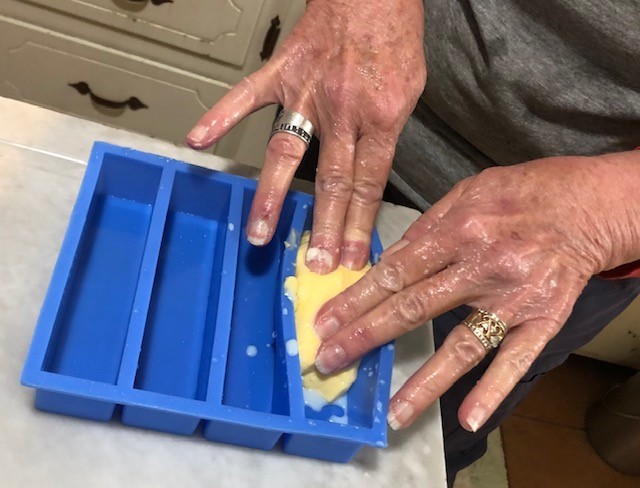
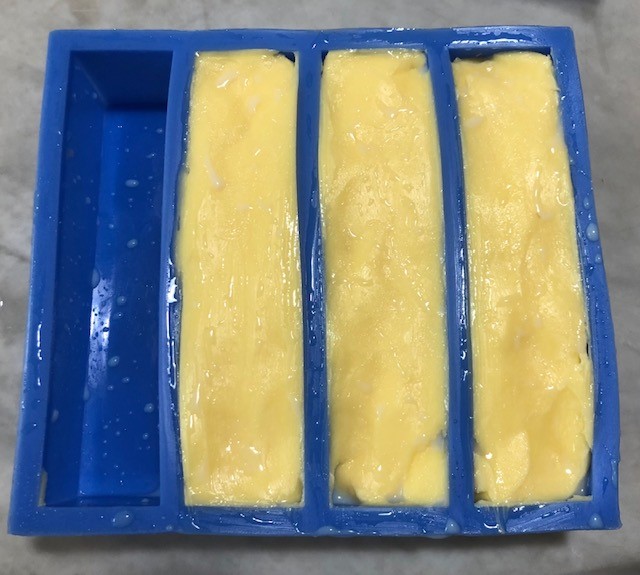
I then freeze my fresh butter until I need it. Enjoy!
HOMEMADE TORTILLAS
- 3 cups flour
- 1 teaspoon salt
- 1 teaspoon baking powder
- 1 cup warm water
- 1/3rd cup olive oil
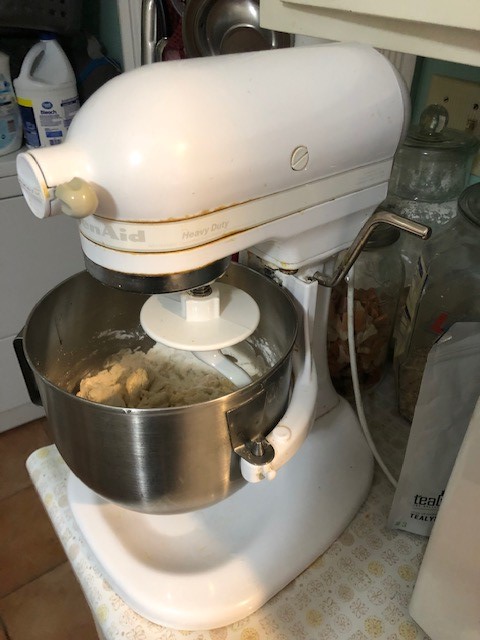
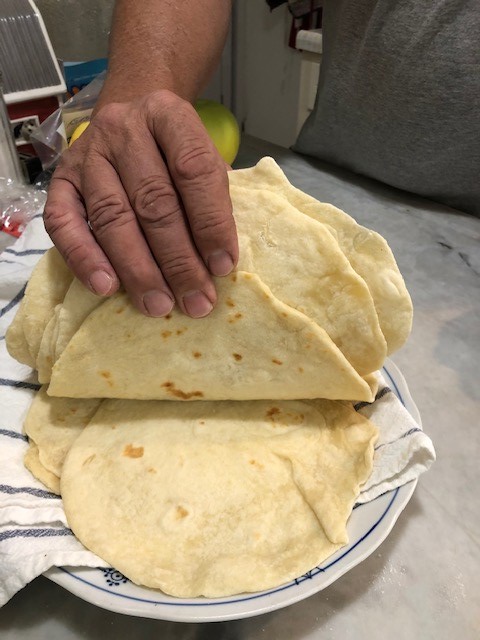
These are the best tasting homemade tortillas I have made. They are so soft and easy. My hubby grew up eating fresh tortillas his Mama made at pretty much each of their family meals, so he is kind of like an expert on tortillas. He approves of this recipe. When we were on our Camino Frances marching to Santiago in Spain in 2018, we learned that they do not eat these type of tortillas there. If you ask for a tortilla in Spain, you are going to get a delicious egg/ potato type omelet. 😜Back to making tortillas: First mix your flour, salt and baking powder together. I use my trusty Kitchen Aid mixer for this. By the way, here is a picture of this workhorse beauty in my kitchen.
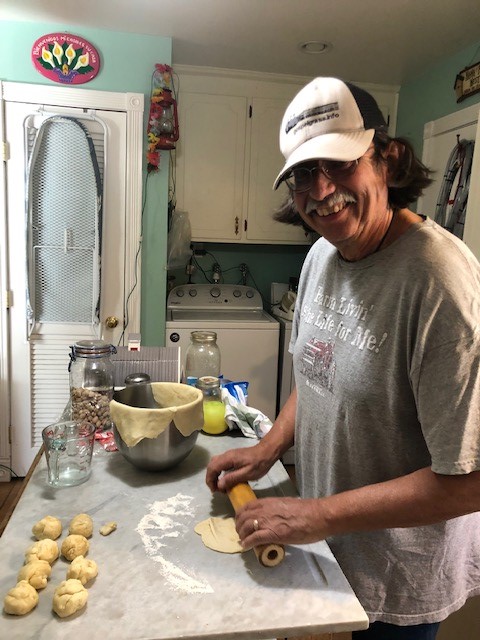
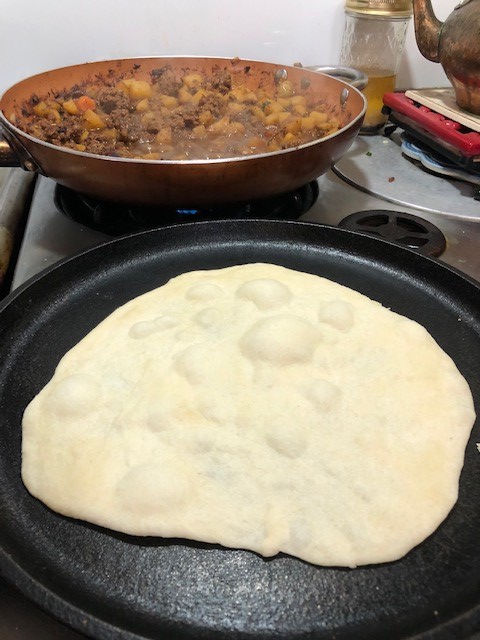
Add the warm water and olive oil to the dry ingredients and mix with a dough hook until nice and smooth. Cover and allow to sit in a warm spot for about an hour. That is usually when I start preparing some taco meat or breakfast burritos to eat with the tortillas. Divide the rested dough into little balls and roll out each one on your floured workplace. I stretch each one of these out a little more with my hands until nice and pliable and thin and then place them on a hot cast iron griddle to brown. Flip them over to cook them and place them in a clean dish towel after you cook them to keep them warm. Delicious!
CHICKEN AND DUMPLINGS
When I was a young girl growing up in East Texas Chicken and Dumplings was my favorite meal my Mom would fix for me. It had been a long time favorite in the Parsley family and now it is a favorite in mine as well. My grandson Gryphon loves my Chicken and Dumplings and insisted I share this with you as well. He recommends that they are served with saltine crackers and fresh farm butter.

Isn’t he the greatest with his Red Rider Bee Bee gun and mucking boots?
- 1 nice plump whole chicken
- 5 tablespoons of Crisco shortening
- 1 1/4 teaspoons of salt
- 5 cups of flour
- Ice water
Boil the chicken in a nice large pot. Debone the chicken and set aside. Keep your remaining chicken broth warm on the stove top and ready for the dumplings to be added. Now here is where I use my trusty Kitchen Aid mixer. To mixer bowl add the shortening and salt and mix . Add the flour 1 cup at a time to this and mix thoroughly. Then add ice water slowly and carefully until you have a nice stiff dough that you can roll out. Divide the dough into 4 large balls and roll each ball of dough out individually on a large well floured workspace to about an 1/8th inch thickness. Cut the dough with a knife into long strips of about 1 inch width each. Now the fun part. You can get the kids to help you with this part . Drop the long strips of dough one by one into the chicken broth that has been heated up to boiling. Once all the strips of dough have been added, add the deboned chicken and cover your pot and cook on low heat for about 30 minutes or until the dumplings are done. Add salt and pepper to taste. Serve your family and be prepared to serve seconds.
SOURDOUGH BREAD FROM STARTER
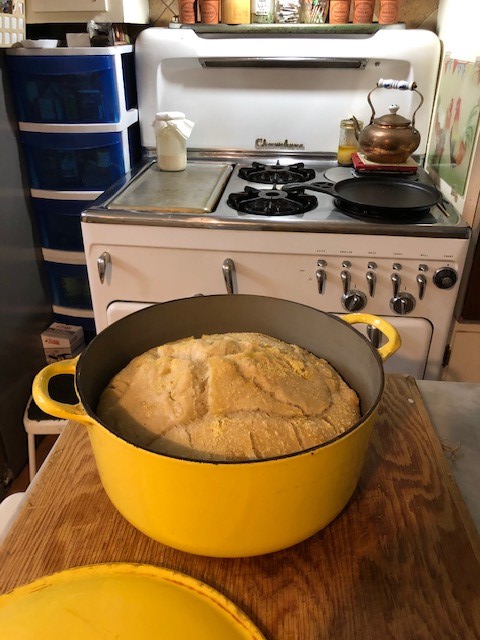
Easy to make and delicious to eat! Made from a sourdough starter and does not require yeast. I got my starter from my friend Cindy. There are recipes online for making your own starter if needed. I use my trusty Kitchen Aid mixer to initially mix the dough and my vintage cast iron Dutch oven for the baking.
- 3 cups lukewarm water
- 2 1/2 teaspoons salt
- 1 cup of sourdough starter
- 6 cups of flour
- 1 tablespoon cornmeal
Mix the water and salt together in a mixer bowl and add sourdough starter and mix well. Add flour 1 cup at a time and mix together until smooth. Cover the mixture and set the dough aside until bubbly and increased in volume. This takes about 6 hours. I use saran wrap over the top of the bowl secured with a rubber band and place this on my stove to keep warm. Once risen and bubbly, turn the wet sticky dough onto a floured work area and with your hands floured, fold the dough over a couple of times to cover with flour. Place this dough into a clean bowl oiled with a little olive oil and allow to rest until the dough doubles in size. This takes about 2 hours. Once risen, preheat your cast iron lidded Dutch oven in your oven at 450 degrees for 30 minutes. Then carefully use thick oven mitts to remove this super hot Dutch oven and place on a wooden cutting board. Add the cornmeal to the bottom of the Dutch oven to prevent the dough from sticking. Rollout the dough out of the oiled bowl and plop it into the Dutch oven with the cornmeal on the bottom and cover with it’s lid. Bake in the 450 degree oven for 30 minutes. Remove and loosen up the edges of the bread with a dinner knife and turn bread out onto your cutting board to cool. Enjoy!
John 6:35
Then Jesus declared, “I am the bread of life. Whoever comes to me will never go hungry, and whoever believes in me will never be thirsty.”
